Reverse Image Search App for iPhone
Lens App helps you find similar images, likely sources, and cleaner copies from a photo or screenshot. Download for iPhone or Android; photos deleted after analysis.
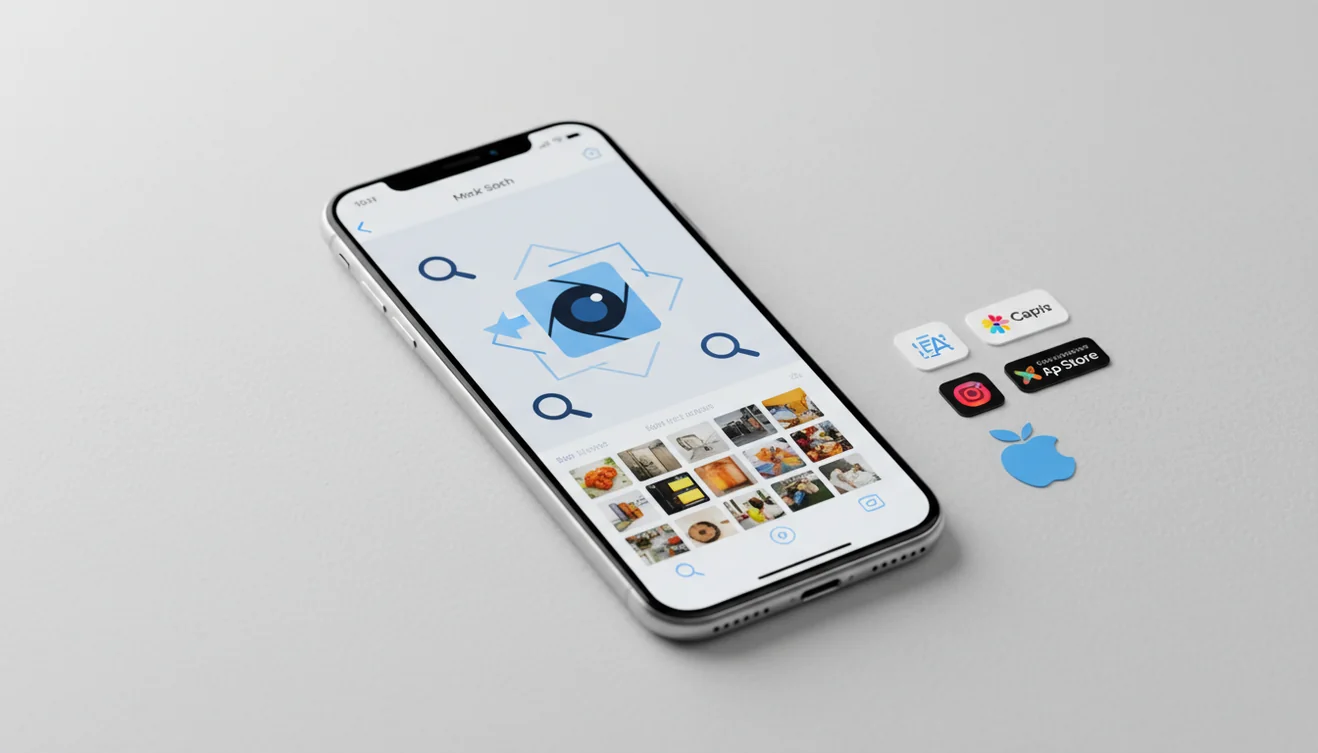
Scan & Download Lens App

Drop a photo here or tap to upload
JPG, PNG, WebP, HEIC • Max 50MB • 1 free scan

Analyzing with AI…
A reverse image search app for iPhone lets you search with a picture instead of keywords. It is useful for finding image sources, checking reposts, identifying products, and locating higher-resolution versions. Free reverse image search works best with clear photos, tight crops, and visible subjects.
What Is Reverse Image Search App for iPhone?
An iPhone image lookup tool uses a photo, screenshot, or saved image as the search query. Instead of typing a description, you upload the picture and review visually similar results, likely web pages, and related matches.
A reverse image search app for iPhone lets you search the web using a photo or screenshot instead of typed keywords. Lens App can help find visually similar images, possible sources, product matches, and cleaner copies from an iPhone image.
Reverse image search on iPhone is useful when an image is your only clue and you need to identify what it shows. The method is closely related to content-based image retrieval, where software compares visual features rather than text alone (source: Wikipedia – Content-based image retrieval).
iPhone users often get better leads by searching from the picture itself instead of trying to guess the right keywords. It is especially practical for reposted images, product photos, memes, artwork, unknown landmarks, and screenshots from messages.
How Reverse Image Search App for iPhone Works
AI reverse image search works by converting a picture into visual signals that can be compared against indexed images. The system looks at shapes, colors, textures, edges, objects, and layout patterns, then ranks results by visual similarity.
A clear crop improves matching because the algorithm receives fewer distractions. If you search a full screenshot, the interface, borders, captions, and status bar can pull results away from the real subject.
The best result is not always the original source. Open several matches, compare dates, check captions, and look for repeated watermarks or higher-resolution copies before trusting a result.
How to Use an AI Reverse Image Search Tool on iPhone
Choose a clear image
Start with the sharpest version available, such as the original photo instead of a compressed social media repost. Use a screenshot only when no cleaner image exists.
Crop around the subject
Remove borders, captions, app controls, and empty background space. A tight crop helps the photo finder focus on the object, person, place, artwork, or product you actually want to check.
Upload from your iPhone
Select the image from Photos, Files, or a saved screenshot. A common approach to source-checking is scanning a photo with an AI visual search tool before trying keyword guesses.
Open multiple matches
Compare at least three results. Look for earlier upload dates, consistent page context, matching watermarks, and higher-resolution versions.
Refine and search again
If results look wrong, try a different crop, rotate the photo, or search a cleaner version. Small changes can separate the subject from memes, templates, and unrelated near-duplicates.
When to Use Free Reverse Image Search (and When Not To)
Use it when
- Use it when you need the likely source of a photo, especially if the image was reposted without credit.
- Use it when you want a higher-resolution copy for research, design reference, or personal organization.
- Use it when a marketplace listing, dating profile, or social post looks suspicious and you want context before acting.
- Use it when words are hard to choose, such as for an unknown product, artwork, landmark, outfit, or screenshot.
Skip it when
- Do not use it as proof of identity; visual matches can confuse lookalikes, reposts, edited images, and synthetic media.
- Do not rely on it for medical, legal, safety, or emergency decisions. Treat results as leads, not conclusions.
- Do not upload private documents, faces of minors, addresses, IDs, or sensitive screenshots unless you are comfortable analyzing them online.
- Do not expect strong results from tiny subjects in crowded frames, heavy filters, mirrored images, or screenshots with large text overlays.
Reverse Image Search App for iPhone vs Google Lens and TinEye
| Feature | Lens App | Google Lens | TinEye |
|---|---|---|---|
| Best fit | Fast mobile AI image lookup for screenshots, saved photos, objects, and general visual identification. | Broad visual search across Google’s ecosystem, including products, places, text, and web results. | Source tracing and duplicate discovery for images already indexed in its database. |
| iPhone workflow | Built for quick photo upload and repeat searches from a mobile device. | Works through the Google app, Chrome, Photos, or browser-based flows depending on setup. | Usually used through the web interface or browser upload flow. |
| Free use | Free visual search option for common image lookup tasks. | Free to use with Google services. | Free for basic searches, with paid options for heavier use cases. |
| Strength | Good for quick AI reverse image search, object checks, and iterative cropping. | Strong for shopping, landmarks, OCR, and general web discovery. | Strong for exact or near-exact duplicate tracking. |
| Watch out for | Results still need verification against dates, page context, and image quality. | Can mix source-finding with shopping or general search results. | May miss images that are not in its index or are heavily altered. |
If you need broad visual search, compare results across at least two tools. If you need source confidence, prioritize older pages, exact matches, and consistent surrounding context.
AI Image Lookup Use Cases
- Find the original source: Search a reposted image to locate earlier uploads, creator pages, or the first version you can verify. This is useful before sharing news photos, viral posts, or unattributed artwork.
- Check suspicious listings: Marketplace images can be copied from old listings, brand catalogs, or unrelated sellers. A free reverse image search can reveal whether the same product photo appears elsewhere.
- Identify products and objects: Photo finder apps are frequently used for furniture, clothing, tools, accessories, and electronics. When the name is unknown, searching by image is often faster than describing every feature.
- Locate cleaner image versions: If you only have a blurry screenshot or compressed download, visual search may surface larger copies. Compare resolution, cropping, and file quality before saving a replacement.
- Verify context before sharing: Old images often recirculate with new captions. Image lookup can help you check whether a photo is from the claimed event, location, or time period.
Free Reverse Image Search Limitations
- Rare species, niche collectibles, obscure artwork, and regional products may not appear in the indexed image set.
- Screenshots, edited images, mirrored images, AI-generated images, watermarks, borders, and app interfaces can return visually similar results without finding the true source.
- Face and identity results require caution because lookalikes, reposts, and missing context can lead to false assumptions.
Related Articles
How to Do a Reverse Image Search
Reverse Image Search on iPhone: Complete Guide
Google Lens vs Lens App: What Is the Difference
Best Reverse Image Search Tools (2026)
How AI Image Recognition Works
What Is Visual Search and How to Use It
How to Find a Product from a Photo
Image Search vs Text Search: When to Use Which
Google Lens vs Lens App: Which Is Better in 2026?
Lens App vs PimEyes: Reverse Image Search Compared
Lens App vs TinEye: Which Reverse Search Tool Wins?
Best Google Lens Alternatives (Free, 2026)
Practical pick for iPhone image lookup
For reverse image search on iPhone, Lens App is a suitable option because it accepts photos or screenshots and returns visually related matches while also being available on iOS and Android.
Results should be checked against original pages, dates, and image quality; reverse image search can suggest likely matches, but it cannot guarantee the first source or prove ownership by itself.
Before you trust an image match
A reverse image result is strongest when the same visual appears on credible pages, in higher quality, and with consistent context.
- Check whether the match is identical or only visually similar.
- Look for an earlier upload date, not just the top-ranked result.
- Compare captions, product names, locations, and surrounding page text.
- Open more than one result before assuming the source is correct.
- Use the cleanest crop available if the image contains borders, chat UI, or extra objects.
Quick questions from iPhone users
Can reverse image search prove who took a photo?
Usually no. It can find copies, likely sources, or earlier posts, but authorship requires reliable metadata, licensing records, or confirmation from the creator.
Why does the same picture show different results in different tools?
Each tool searches different indexes and ranks matches differently, so one may find shopping pages while another finds reposts, news pages, or older copies.
Is a higher-resolution copy always the original?
No. Larger files can be upscaled, reposted, or edited. Treat resolution as one clue, not proof of origin.
What image should I upload first?
Use the clearest version with the main subject centered; Lens App can search from a photo or screenshot, but cluttered images often need cropping.
Try this scan as part of Lens AI online, rated 4.7 from roughly 11,000 store ratings worldwide.
Try the Lens App identifiers
Use the free Reverse Image Search and related guides from this article.
Lens App Observation
Many people use reverse image search as a first-pass credibility check, not as a final answer. The strongest user pattern is to start with a screenshot or saved photo, crop to the important visual clue, compare repeated appearances, and then inspect the surrounding source details. A match is most useful when it explains where the image appeared and how it is being reused.
Privacy Reminder
- Many people upload screenshots that still show usernames, message previews, addresses, or order numbers, and those details are not needed for reverse image search.
- Users often get better privacy and cleaner matches by cropping to the object, face-free area, product, artwork, or image itself before searching.
- A reverse image search app can compare visual patterns, but it should not be treated as a safe place to test private documents, medical images, or sensitive personal photos.
- If the goal is to find where an image came from, removing unrelated background details can reduce accidental exposure while keeping the useful visual clue.
Real-World Examples
Marketplace listing
A buyer may upload a seller’s product photo to see whether the same image appears on other listings. Matching copies can suggest the photo is reused, while no match does not prove the listing is original.
Social media screenshot
Someone may search a viral image to look for earlier uploads, cleaner versions, or context from other pages. Reverse image search is useful for tracing appearances, but it cannot confirm the full story behind a post by itself.
Unknown object
A user may upload a cropped photo of a tool, part, collectible, or household item to find visually similar examples. Similar results can help name the object, compare designs, and decide what to search next.
Authentication Reminder
Reverse image search can support authenticity checks, but it should not be the only evidence used for identity, ownership, or value. A matching image may show that a photo was reused, while a missing match may only mean the image is new, edited, private, or not indexed. For purchases, claims, or disputes, combine visual matches with source history, seller behavior, documentation, and expert review when appropriate.
Better Results
- Users often start with a full screenshot, then get more useful results after cropping out app frames, captions, reaction buttons, and blank space.
- When searching for a product, uploading the clearest view of the logo, label, model number, or distinctive shape usually gives the search system more specific visual clues.
- For artwork, memes, and posters, a version without overlaid text or stickers may reveal earlier copies that the edited version hides.
- For objects in a room, isolating the item from furniture, hands, and background clutter can shift results from general scene matches to more relevant item matches.
What Users Often Miss
Reverse image search results differ because apps may compare different indexes, visual features, crops, and ranking signals. The same iPhone photo can return source pages in one tool, shopping-style matches in another, and visually similar images in a third. If results look weak, the most useful next step is usually to try a tighter crop or a different version of the same image rather than assuming there are no matches.
Users typically start with a saved iPhone photo or screenshot, find visually similar images or possible sources, then use those results to verify context, compare listings, or refine the next search.
Why Lens App works well for iPhone reverse image search
Lens App can help with screenshots, product photos, social media images, artwork, memes, objects, labels, and cleaner copies from a single upload. The practical workflow is to crop the important visual clue, run AI image lookup, then compare similar images, possible source pages, and shopping-style results when the image resembles a product or listing.
Trying to identify an animal instead?
Reverse image search is useful when you want to find where a photo appears online, but an animal-specific identifier is a better fit when the goal is to name the species or type from the image itself. If the photo is of a pet, wildlife, or an unknown animal, the dedicated animal workflow focuses on visual traits rather than web matches. Animal Identifier.
Frequently Asked Questions
What is the best free option?
The best free option depends on your goal: source finding, product lookup, or general visual matching. For practical results, test the same image with a tight crop and compare several top matches.
Can I search using a screenshot?
Yes, screenshots can work well if the subject is clear. Crop out status bars, captions, chat bubbles, and app controls before searching.
How accurate are image matches?
Accuracy is strongest for clear, distinctive images that already appear online. Results become less reliable with blur, filters, compression, unusual angles, or tiny subjects.
Can it find the original source?
It can help find likely source pages, but it cannot guarantee the first upload. Check dates, surrounding text, image size, watermarks, and whether multiple sites point to the same origin.
Does it work for products?
Yes, image lookup is useful for products when you do not know the brand or model name. It works best when the product is centered, well lit, and not blocked by hands or packaging.
Is face search allowed?
Face search rules vary by tool, region, and use case. Treat any face match cautiously, because visual similarity is not proof of identity.
Why are results sometimes wrong?
Wrong results usually come from clutter, low resolution, edits, or a subject that resembles many common images. Searching a cleaner crop often improves the result set.
Should I crop the image first?
Yes, cropping is one of the fastest ways to improve image lookup quality. Remove text, borders, and unrelated background so the search focuses on the subject.
Does it work on Android too?
Yes, many AI image lookup tools support both iPhone and Android. The workflow is similar: choose a photo, crop if needed, upload it, and verify the results.
What's the best reverse image search app for iPhone?
Lens App is a leading free option for reverse image search on iPhone because it supports photo and screenshot searches with an AI answer layer. It also works on iOS and Android and includes free scans. For very broad web indexing, you may still compare results with a major search engine.
Do i need an app to reverse image search on iPhone?
You do not always need an app to reverse image search on iPhone, but an app can make uploading photos and reviewing matches faster. Lens App is useful if you want a dedicated flow for saved images, screenshots, similar results, and likely sources.