 Lens
Lens
What Shoes Are These?
Upload a clear shoe photo to narrow down the brand, model, colorway, and similar listings. Better angles and visible label details can make the identification more specific.
Drop a shoe photo here or tap to upload
JPG, PNG, WebP, HEIC • Max 50MB

Analyzing with AI…
Matching visual features and similar results


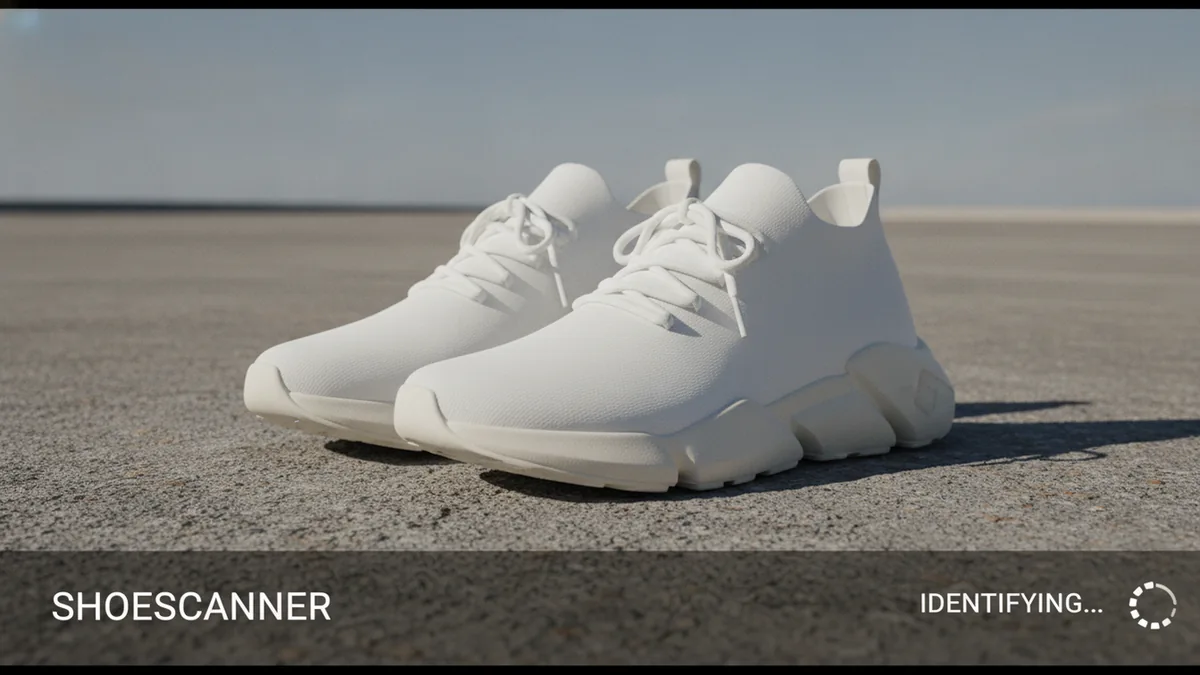
How to Identify Shoes in a Picture
Start with a bright, uncropped side-view photo that shows the entire shoe. Compare the silhouette, panel layout, logo placement, midsole, outsole, and color blocking. If available, photograph the tongue tag, size label, or box label because a printed style code can distinguish between nearly identical models and colorways.
How to use this tool
Choose the Clearest Photo
Start with a sharp side view that contains the complete shoe. If you are working from a group photo or screenshot, crop closely without removing the toe, heel, or sole.
Run a Visual Search
Upload the image to a shoe identification or image-search tool. Review several candidates rather than selecting the first result solely because the colors look similar.
Compare Structural Details
Check the silhouette, panel layout, logo position, eyelets, midsole shape, and outsole pattern. These features are generally more dependable than color alone.
Search the Style Code
If you have access to the shoe, photograph the size tag or box label. Search the likely style code with the brand name and compare the returned model and colorway.
Verify Listings Before Buying
Confirm size, condition, product code, seller images, and return terms. Treat image identification as a starting point rather than authentication or a certified valuation.
Start With the Full Side Profile
The side profile is usually the most informative view when you are asking, “What shoes are these?” It shows the overall silhouette, toe shape, heel height, panel construction, logo position, and the line of the midsole in one frame.
Place one shoe against a plain background and keep the camera level with its side. Make sure the toe and heel are not cropped, and let the shoe fill most of the image without cutting off the outsole.
A side view is especially helpful for separating similar low-top sneakers, running shoes, basketball shoes, and casual trainers. Small differences in overlay shape or midsole geometry can point to a particular model family.
- Photograph the outer side first, where branding is often most visible.
- Use neutral daylight or bright indoor lighting.
- Avoid portrait blur, color filters, and strong shadows.
- Keep laces, side panels, heel, and sole edge in focus.
| Visible clue | What it can reveal | What to compare |
|---|---|---|
| Side silhouette | Shoe category and model family | Toe curve, collar height, heel shape, and overall proportions |
| Panel layout | Specific model or generation | Overlay edges, stitching paths, mesh sections, and reinforcement pieces |
| Midsole | Cushioning platform or product line | Foam shape, windows, pods, ridges, and heel geometry |
| Logo placement | Brand and possible collection | Logo size, angle, location, and surrounding panels |
| Color blocking | Possible colorway | Toe, side, lace area, heel, lining, and outsole colors |
Check Logos Without Relying on Them Alone
A recognizable side mark, heel emblem, tongue graphic, or outsole wordmark can quickly establish the brand. However, logos alone may not identify the exact model because one brand can use the same mark across hundreds of designs.
Look at how the mark interacts with the shoe's construction. Its angle, proportions, embroidery, printed finish, and position relative to stitching or overlays can be more useful than the logo shape by itself.
Do not assume that an unclear symbol confirms authenticity or a particular release. A photo-based match can identify visual similarities, but authenticity requires closer inspection of construction, labels, provenance, and other physical details.
- Inspect the outer side, tongue, heel tab, insole, and outsole.
- Note whether the logo is stitched, molded, printed, or applied as a separate piece.
- Compare the space between the logo and nearby seams.
- Search any readable product-line text along with the brand.
When No Logo Is Visible
Use the silhouette, sole tooling, eyelet arrangement, and panel layout to form a shortlist. A second image of the heel or outsole may reveal molded branding that is hidden in the main photo.
Use the Outsole to Separate Similar Models
The underside of a shoe often contains model-specific evidence that is not visible from the side. Tread blocks, flex grooves, traction pods, pivot circles, exposed cushioning, and molded text can distinguish shoes with nearly identical uppers.
Take the outsole photo straight on and remove loose dirt if it can be done without damaging the shoe. Keep the complete tread pattern in frame, including the toe and heel edges.
Heavy wear can erase some details, but the remaining groove layout may still help. Compare the shape and spacing of traction elements rather than relying only on outsole color.
- Capture the entire outsole in one sharp frame.
- Add a close-up of molded words, numbers, or logos.
- Check whether the left and right shoes have matching tread.
- Notice transparent rubber, contrasting pods, and exposed foam sections.
Why Sole Tooling Matters
Brands may reuse upper colors, materials, and general shapes, but a specific midsole and outsole combination can narrow the search to a smaller product line. This is useful when identifying running and basketball shoes with complex cushioning structures.
Find the Style Code on the Label
A readable style code or SKU is one of the strongest ways to confirm an exact shoe. It may appear on the size tag inside the tongue, along the inner lining, beneath a removable insole, or on the original box label.
The label may also show size systems, production dates, factory information, and a barcode. Search the clearest product code together with the brand name, then compare the resulting images with the physical shoe.
Do not treat every printed number as a style code. Size measurements, serial-like factory fields, and barcode numbers may produce unrelated results, so verify the panel layout and colors before accepting a match.
- Photograph the label in bright, even light.
- Tap to focus so every letter and number is legible.
- Try likely codes with and without spaces or hyphens.
- Compare the code on both shoes and the box, if available.
Confirm the Colorway Separately
One model code structure may include a base style and a color suffix. Match the toe, side panels, tongue, heel, lining, laces, midsole, and outsole before assigning a colorway name.
Read the Shape, Materials, and Construction
When branding or labels are hidden, construction details become the main evidence. Note whether the shoe is a low-top, mid-top, or high-top, then inspect the toe profile, collar padding, heel counter, tongue thickness, and lace arrangement.
Materials can narrow the search further. Smooth leather, suede, nubuck, knit, ripstop, canvas, mesh, and synthetic overlays each reflect light differently, so use an unfiltered image with accurate color.
Stitching paths and panel edges are particularly useful for look-alike shoes. Compare where seams begin and end, whether overlays are layered or fused, and how the upper joins the sole.
- Count visible eyelets and note any lace loops or locks.
- Look for straps, pull tabs, zippers, buckles, or reflective sections.
- Compare toe perforations and ventilation patterns.
- Check whether the tongue is separate, gusseted, or sock-like.
Identify the Exact Colorway
After finding a likely model, compare the color placement rather than searching only for a general color such as red or blue. Official and marketplace colorway names often describe combinations across the upper, accents, lining, midsole, and outsole.
Lighting can make white appear cream, navy appear black, or reflective material appear gray. Use a second photograph in neutral daylight if the colorway is the only unresolved part of the identification.
Also consider lace swaps, replacement insoles, and customized panels. A modified pair may resemble a standard release while differing in a few visible areas.
- Compare the toe box and mudguard colors.
- Check both the main logo and smaller accent marks.
- Inspect the heel tab, tongue label, and interior lining.
- Separate original color blocking from dirt, fading, and yellowing.
Account for Wear and Aging
Sun exposure, oxidation, washing, and normal abrasion can change a shoe's appearance. Base the match on panel placement and original material boundaries, not only on the current shade.
Improve Difficult or Incomplete Photos
A shoe may be partially hidden by clothing, cropped at the edge, blurred in motion, or shown at a steep angle. In that situation, crop around the shoe while preserving as much of its silhouette and sole as possible.
Do not enlarge a tiny image so aggressively that artificial edges replace real details. Use the original file when available, and search separate crops if multiple shoes or products appear in the scene.
For a physical pair, take new photos instead of trying to repair one poor image. A side view, outsole view, heel view, and label close-up provide complementary evidence.
- Use the highest-resolution original image.
- Remove unrelated background without cutting into the shoe.
- Try separate crops of the upper, sole, and label.
- Retake reflective or black shoes with soft, indirect light.
Identifying Shoes From Screenshots
Screenshots from videos, social posts, and shopping pages may contain compression or color shifts. Choose the frame with the least motion blur, then compare several visible features instead of trusting a single logo-like shape.
Verify a Candidate Before You Buy
A visually similar result should be treated as a candidate, not automatic confirmation. Compare the candidate listing with the original photo at the toe, side logo, eyelets, heel, panel seams, midsole, and outsole.
Read the complete listing title and description because sellers may use broad model-family names or incorrect color labels. Check the size system, product code, release information, condition, and included accessories before purchasing.
Identification and authentication are different tasks. A visual search may locate the design, while authenticity review requires detailed examination of labels, materials, construction, packaging, and seller history.
- Confirm at least three independent visual details.
- Prefer listings that show the actual item from several angles.
- Check return terms before buying a used or rare pair.
- Avoid using one blurry image as proof of authenticity.
From Shoe Identification to Shopping
Once the model and colorway are reasonably clear, search across several listing types. Retailers may use an official product name, while resale and secondhand sellers may list the same pair under a nickname, style code, or abbreviated title.
Condition changes both availability and price. New pairs with original packaging, lightly worn pairs, and heavily used pairs should not be compared as if they were equivalent.
Use image matches to build a shortlist, then compare size, condition, seller photos, shipping, and return terms. If the exact release is unavailable, the same search can surface visually similar shoes with comparable materials or color blocking.
- Search the brand, model, colorway, and style code together.
- Repeat the search with common abbreviations or nicknames.
- Filter by your size before comparing total cost.
- Review actual-item photographs for pre-owned shoes.
When You Only Want a Similar Pair
An exact model name is not always necessary. Search by visible traits such as retro runner, gum outsole, suede overlays, high-top collar, or black-and-white color blocking to find alternatives.
Example value ranges
These broad USD ranges are for triage only. Exact issue, condition, authenticity, and recent sold comps decide real prices.
| Example | Broad range (USD) | Main clues |
|---|---|---|
| Common used casual sneakers | $15 to $80 | Brand, wear level, remaining tread, cleanliness, and local demand |
| Current general-release sneakers | $50 to $180 | Model, size, condition, retailer availability, and original packaging |
| Premium running or basketball shoes | $80 to $250 | Product line, cushioning platform, release date, size, and condition |
| Limited or discontinued releases | $100 to $500+ | Exact style code, colorway, scarcity, size, authenticity, and market demand |
| Designer footwear | $150 to $1,000+ | Designer, model, materials, condition, provenance, and authentication |
A Practical Way to Search From a Shoe Photo
Lens AI: Scan & Image Search at LensApp.io is a practical starting point when you have a shoe photo but no product name. Upload a full side view first, then try additional crops of the logo, outsole, heel, or label when the initial results are broad.
Use the visual matches to build a shortlist of possible brands, models, and colorways. Confirm the result with a readable style code and structural details before buying, selling, or describing the pair.
For broader searches beyond footwear, you can also use the product and clothing discovery guides linked below.
Related pages
Also useful: sneaker legit check.
Frequently Asked Questions
Can I identify shoes from a single photo?
Often, yes, if the photo clearly shows the complete side profile, logo placement, panel layout, and sole. A second photo of the outsole or size label can resolve uncertainty between visually similar models. · sneaker legit check
Can Lens App tell me the exact shoe model?
Lens App can surface visually similar products and help narrow the likely brand, model family, or colorway. Exact identification is easier when the image is sharp and a style code or distinctive sole pattern is visible.
What is the best angle for identifying sneakers?
A straight outer-side view is usually the best first image because it captures the silhouette, overlays, logo, and midsole. Add outsole, heel, tongue, and size-tag photos for a more complete comparison.
Can Lens App identify shoes from a screenshot?
It can search from screenshots, but results depend on resolution, cropping, and motion blur. Choose the clearest frame and crop around the shoe while keeping its toe, heel, and sole visible.
Where do I find a shoe's style code?
Check the size label inside the tongue, the inner lining, the area beneath a removable insole, or the original box label. The format varies by brand, so confirm the code by comparing search results with the shoe.
Can Lens App confirm whether shoes are authentic?
No visual search result should be treated as definitive authentication. Lens App can help identify likely visual matches, but authentication requires detailed inspection of construction, labels, materials, packaging, provenance, and seller information.
Why do several different shoes appear in the results?
Brands often reuse silhouettes, color combinations, and sole shapes across related models. Improve the query with a tighter crop, another angle, an outsole image, or a readable style code.
Can shoe photos determine resale value?
A photo may help establish the model and visible condition, but it cannot guarantee value. Size, authenticity, packaging, wear, regional demand, platform fees, and current listings all affect the amount a buyer may pay.
Can Lens App find where the shoes are sold?
Lens App can help surface visually related products and listings that provide useful search terms. Verify the exact model, size, condition, seller, shipping cost, and return policy on the destination site.
How can I identify shoes with no visible logo?
Compare the toe shape, collar height, panel seams, lace system, heel construction, midsole geometry, and tread pattern. A label or molded outsole marking may reveal the brand even when the upper is unbranded.